
Table of Contents
From the WordPress plugin directory
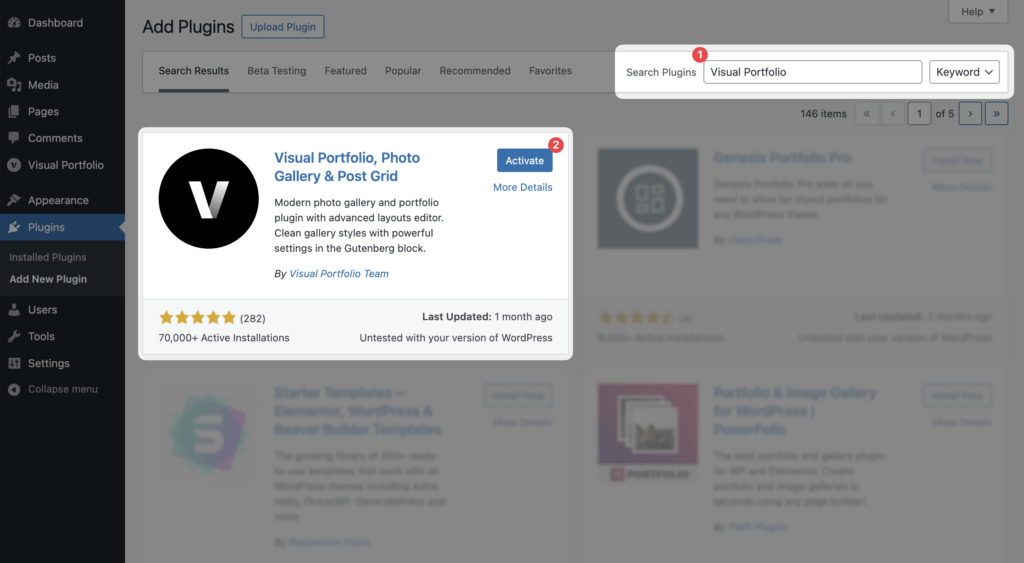
- In your dashboard go to Plugins → Add New.
- Search for Visual Portfolio.
- Click Install Now, then Activate.
From a ZIP file
- Download the plugin from https://wordpress.org/plugins/visual-portfolio/.
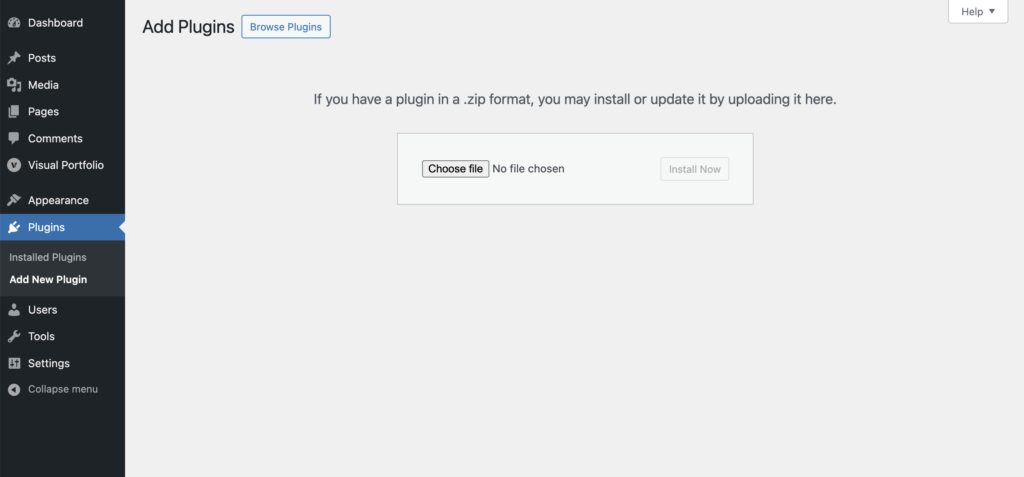
- Go to Plugins → Add New → Upload Plugin.
- Choose the file, click Install Now, then Activate.
After activation
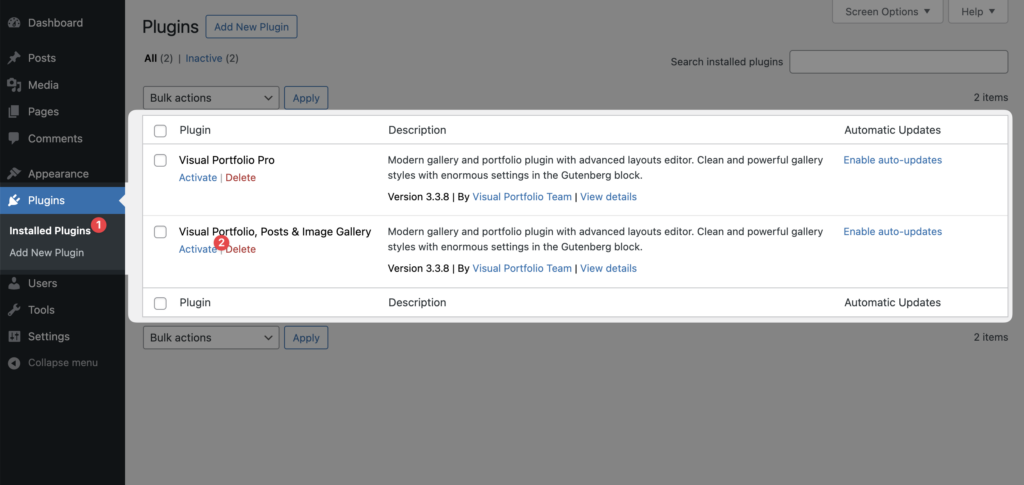
The plugin opens a welcome screen once. It also:
- adds the Visual Portfolio menu with Projects, Categories, Tags, Saved Layouts, Settings and Documentation;
- registers the Project post type with Portfolio Categories and Portfolio Tags;
- creates a page named Portfolio (slug
portfolio) that lists your projects, and sets it as the Archive Page in Settings → General; - adds two roles, Portfolio Manager and Portfolio Author (see Roles and capabilities);
- uploads a placeholder image to
wp-content/uploads/visual-portfolio/placeholder.png, used for items without an image; - flushes the permalink rules so
/portfolio/…URLs work.
If you only want photo galleries and no Project post type, switch off Register Portfolio Post Type in Settings → General. The menu then moves to a top-level Visual Portfolio entry with Saved Layouts and Settings.
Verify
Open Visual Portfolio → Settings. Edit a page, add a block and search for “Visual Portfolio”: the block appears in the Media category, together with one variation per layout.
Next: Quick Start.